Taking photos and capturing those happy moments to look back on forever is one of my favorite things to do whether we’re traveling or just hanging at the beach at home. It can be frustrating when my phone can’t quite capture the colors I’m seeing, which is why I love editing my photos to make them look just the way I want to remember them. I edit our iPhone photos using the free Adobe Lightroom mobile app, because it’s so comprehensive and really gives you total control over how you edit and adjust all of the settings on your photos.
Over the years, I’ve worked on creating the perfect edit and I’ve developed one-click edits that completely transform photos within a matter of seconds. Below you’ll find 8 steps to edit your iPhone photos using Adobe Lightroom.
How to Edit Your iPhone Photos with Adobe Lightroom


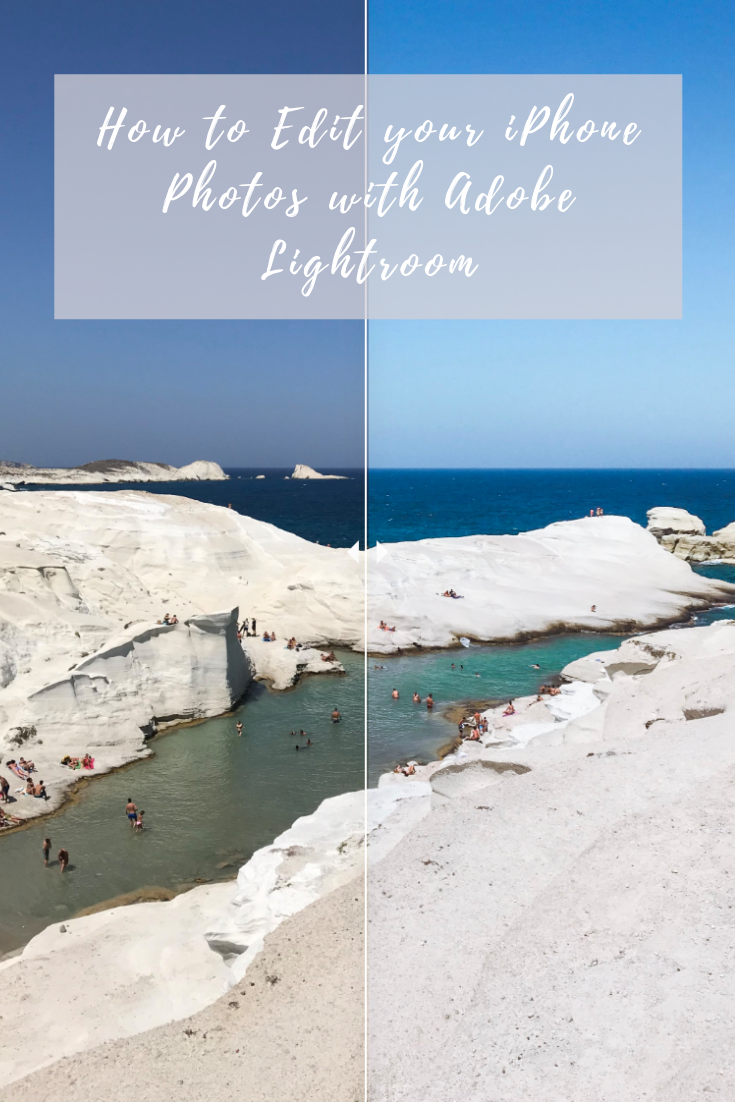
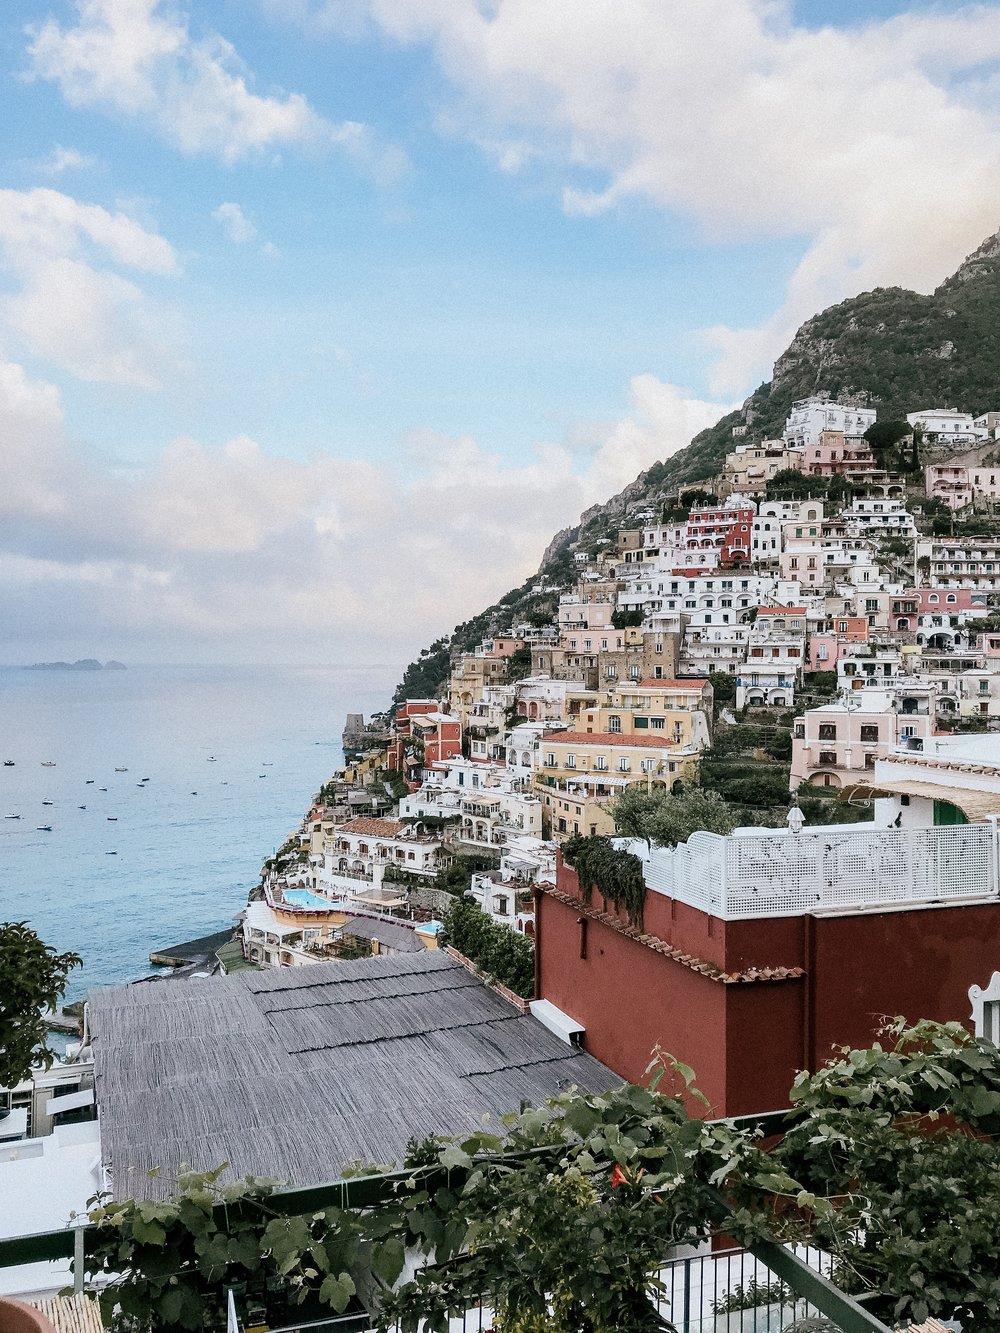
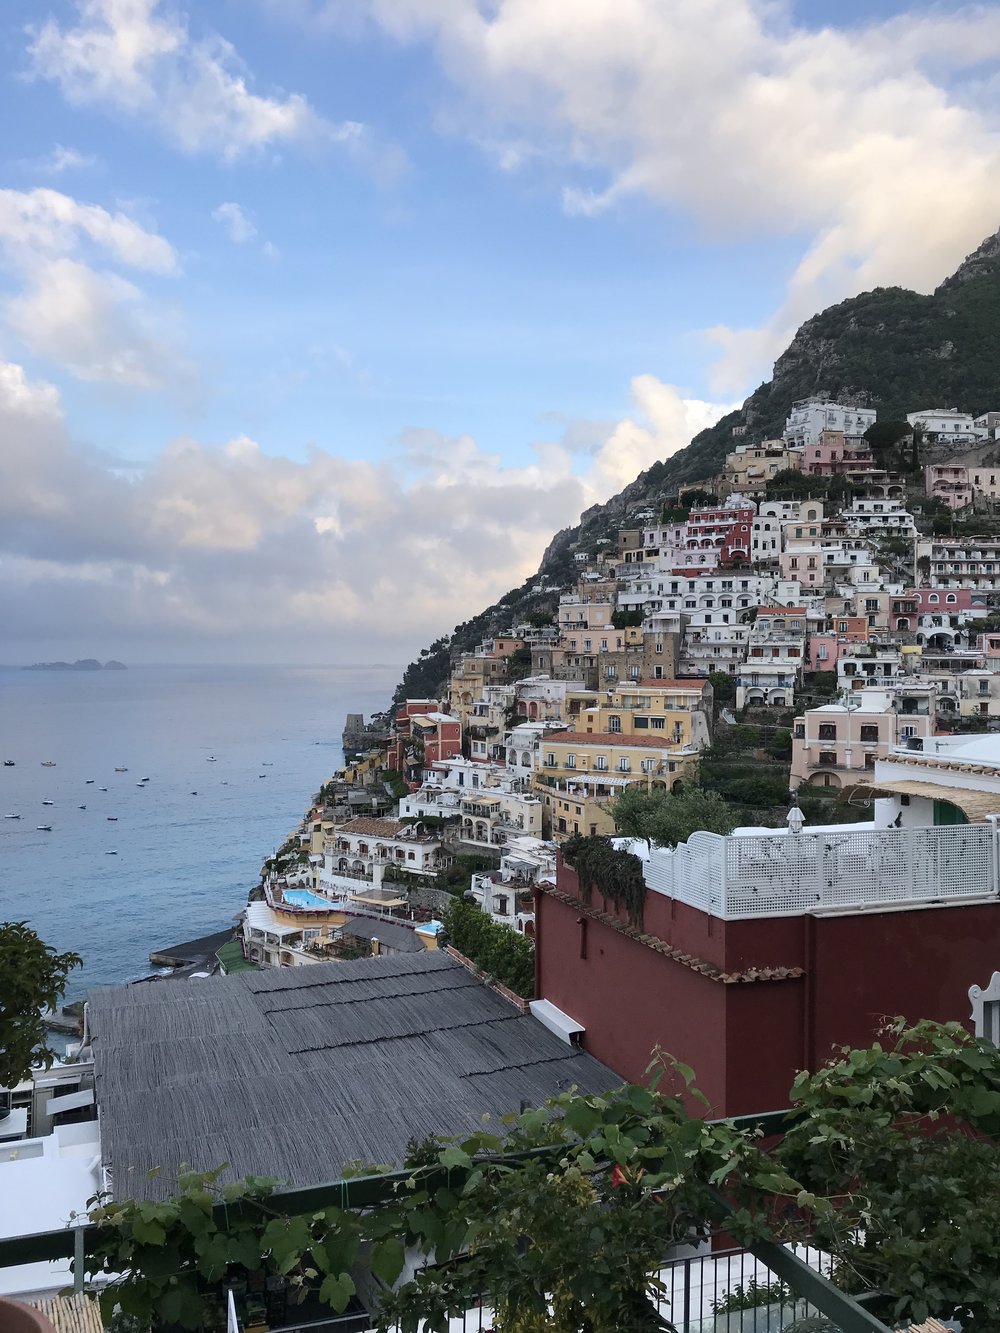
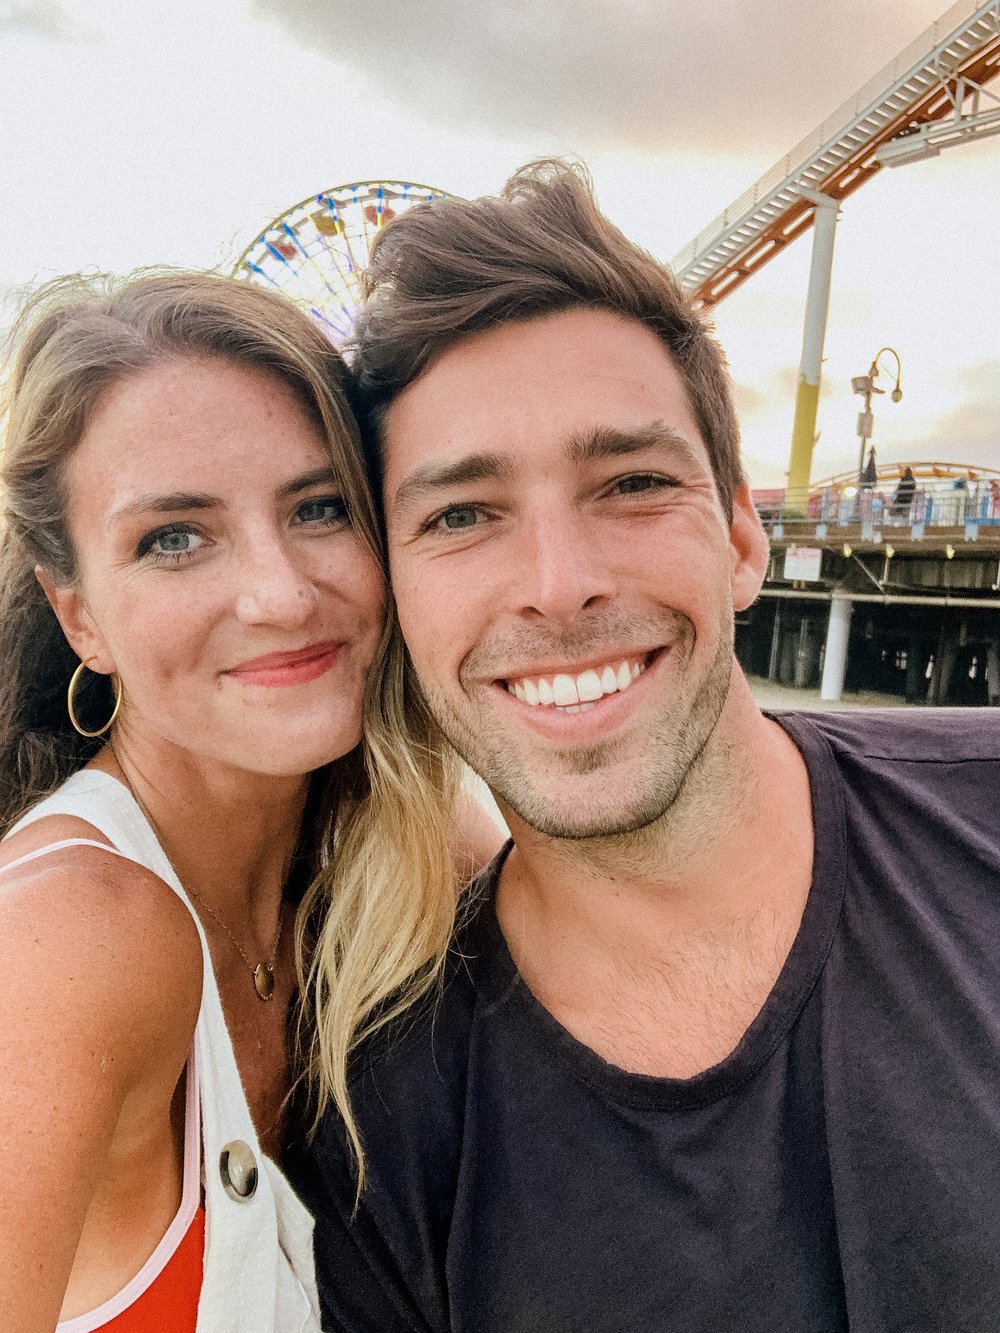
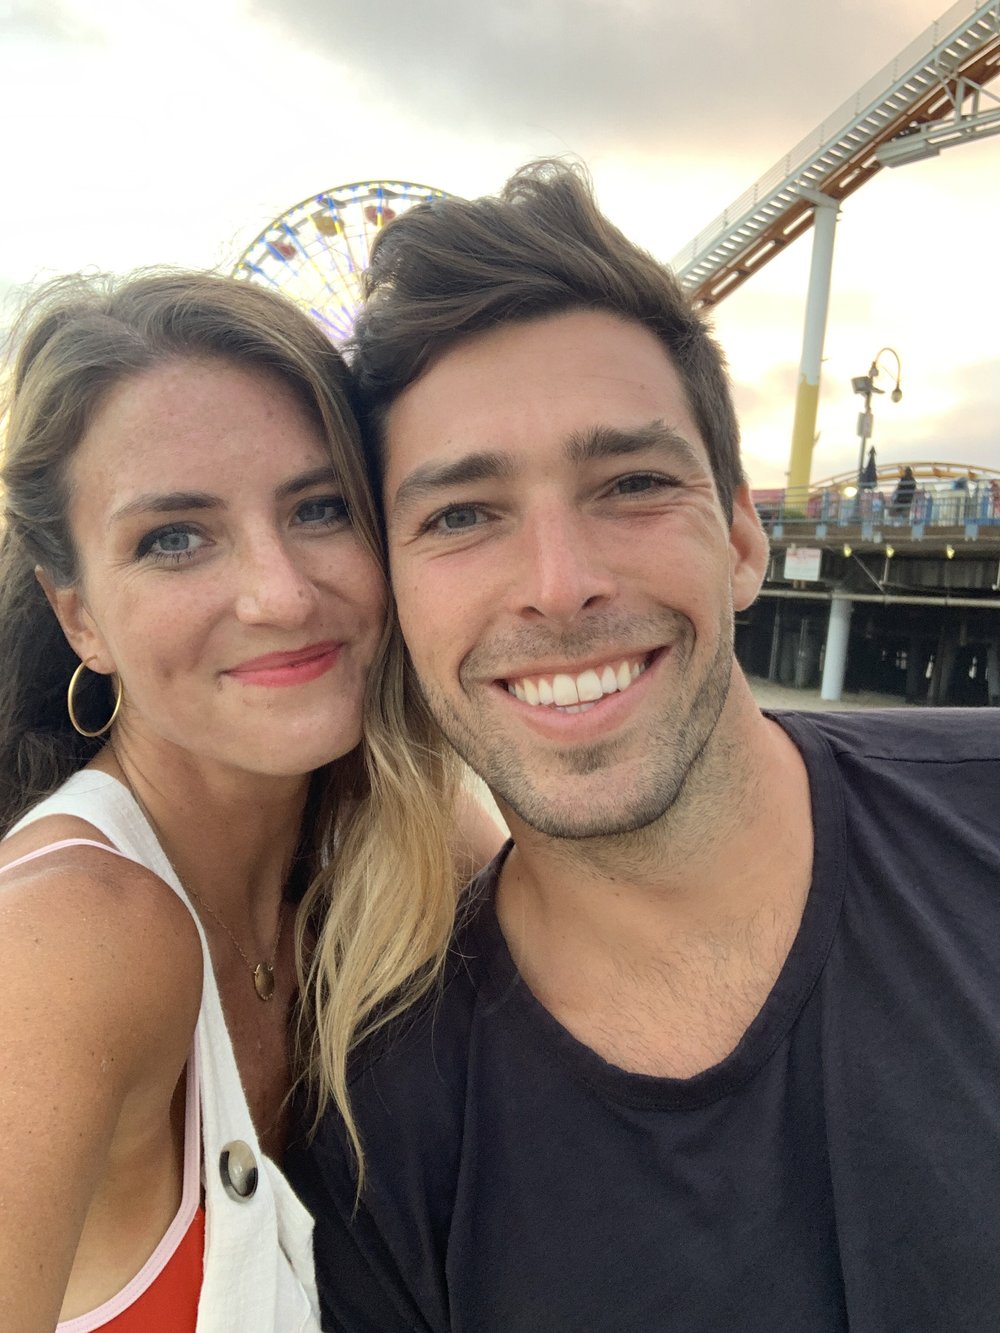
Edited with the Milos Preset
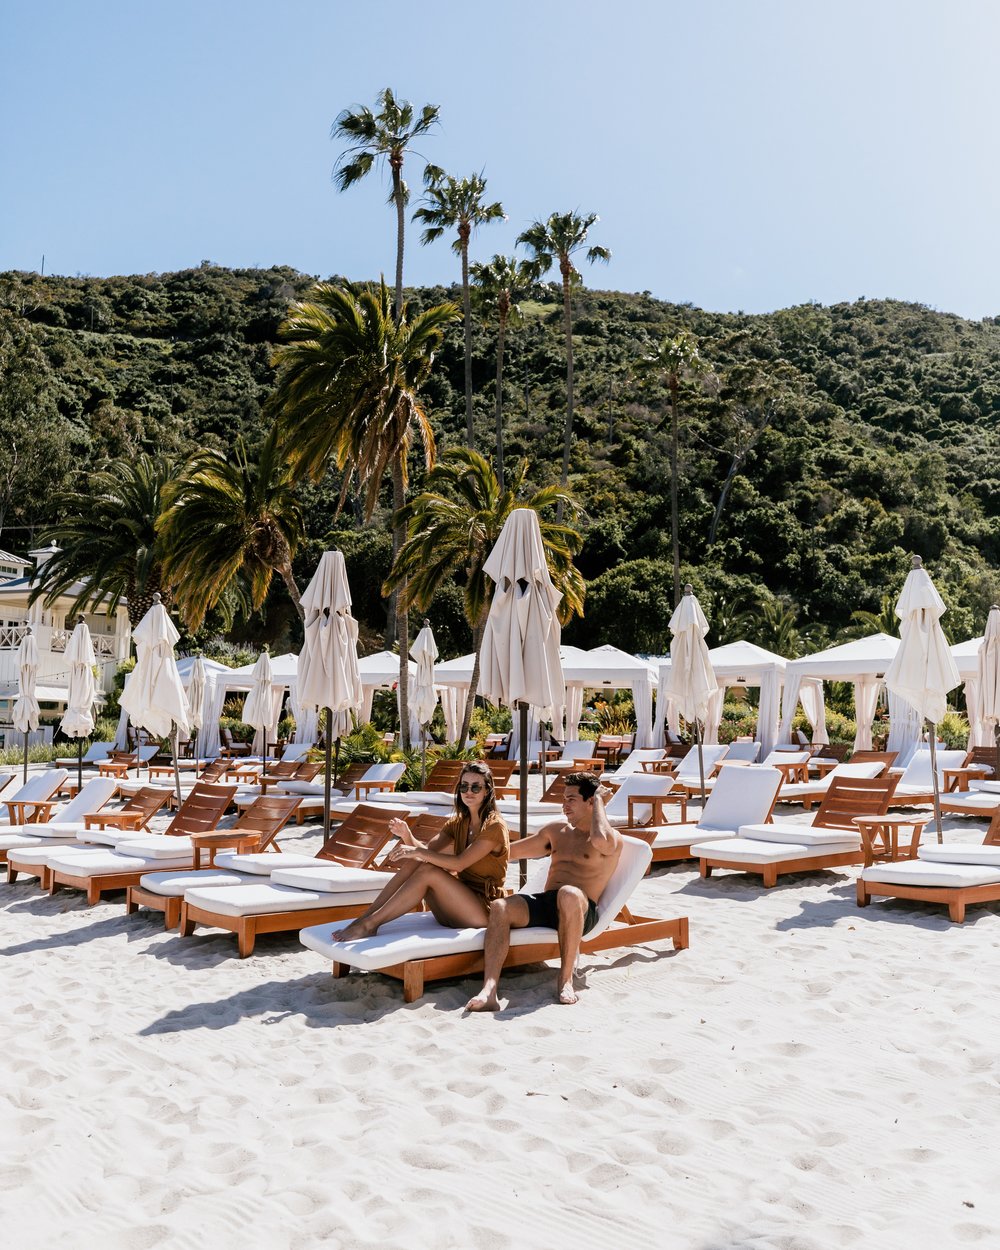
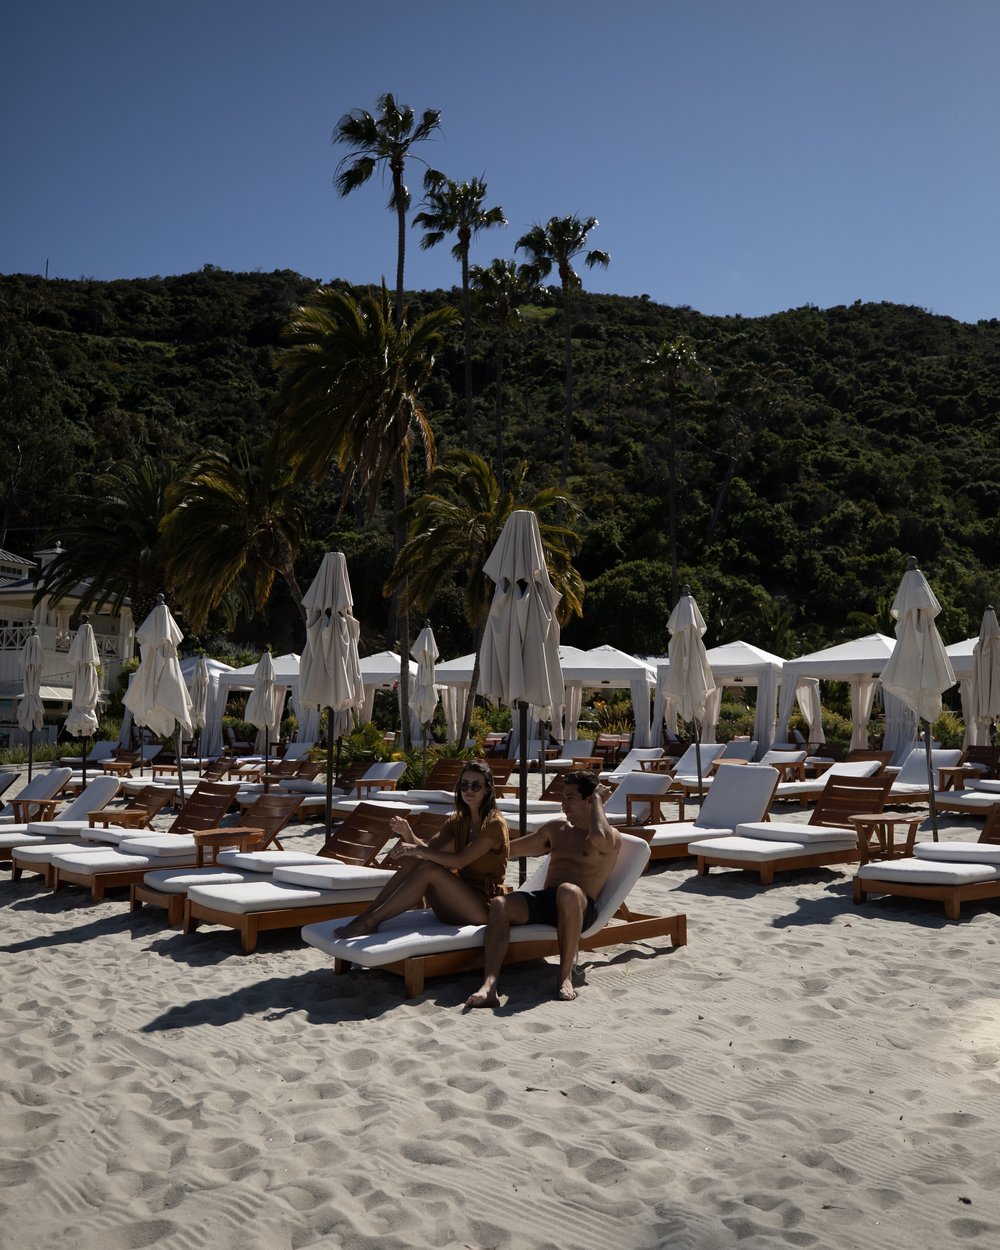
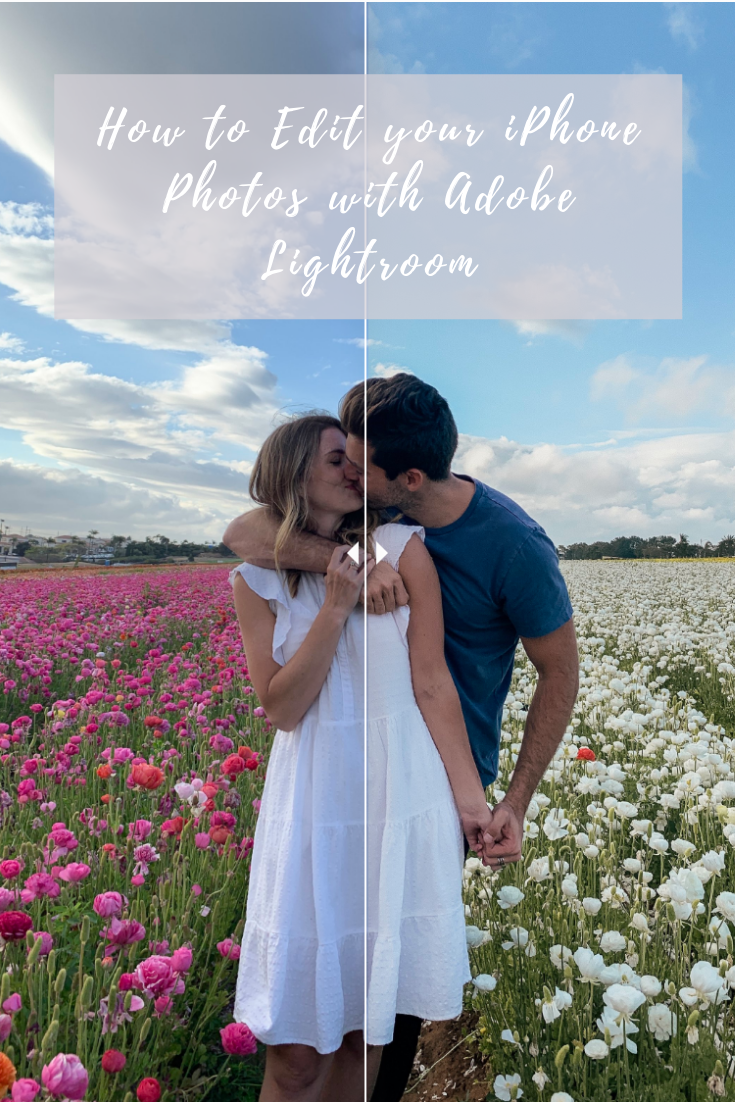
Edited with the TULUM Preset
Download the Adobe Lightroom app:
Once you’ve downloaded the app on your phone, you’ll need to create a free account. Then you can add the photos you want to edit from your camera roll to your Lightroom library.
Apply a preset:
Select a photo you want to edit and the first thing I always do to start editing my photos is apply a preset. Presets are custom photo filters that make all of our photos have a certain style and look to them with the click of a button. This way I immediately have something to base my edit off of that I know I will like because I use presets that have the colors and style that I like. My favorite presets for Adobe Lightroom are the Tulum and LA presets from the Wanderer Preset Pack.
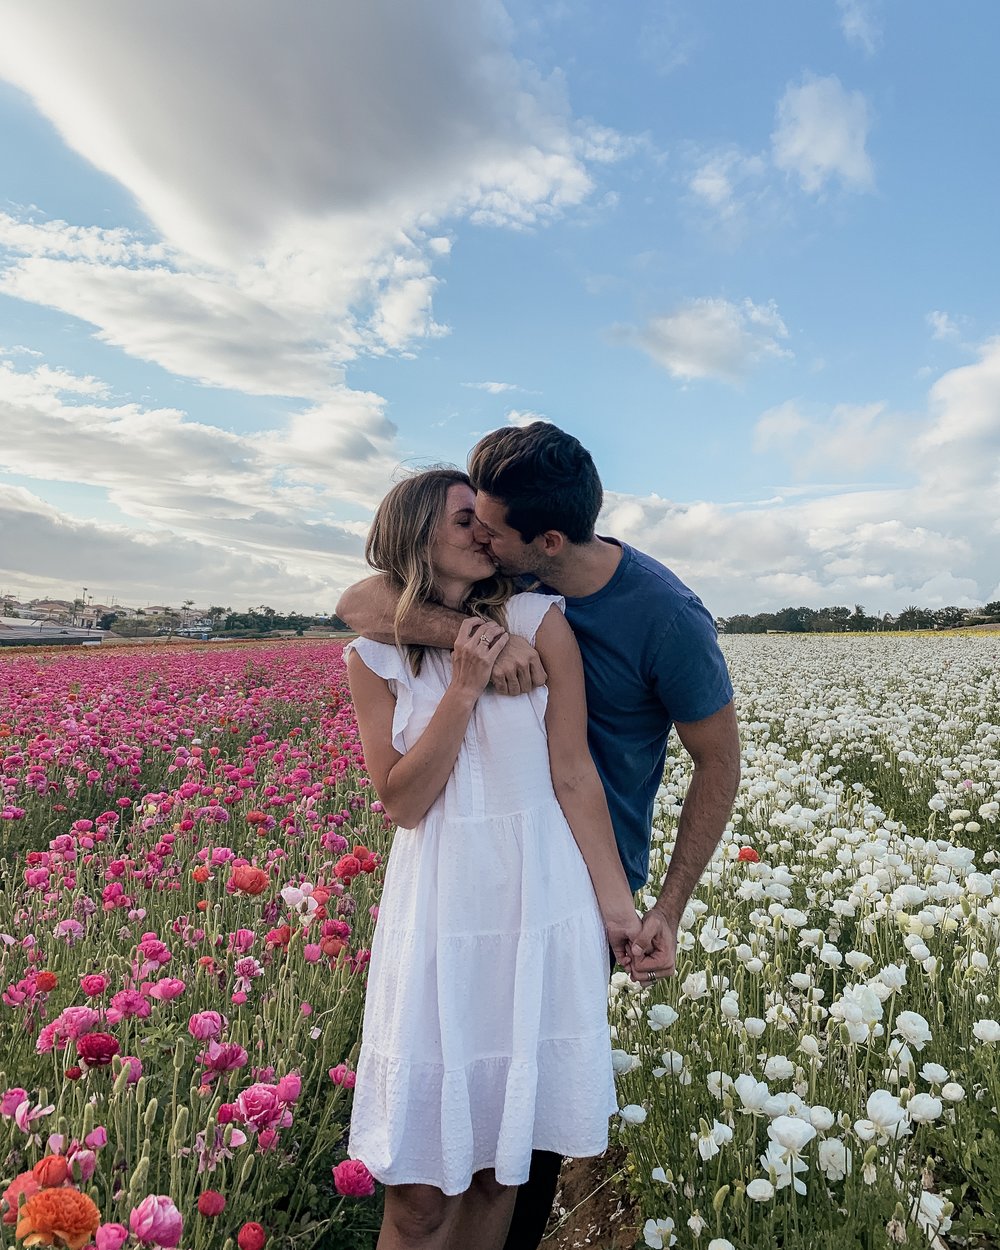
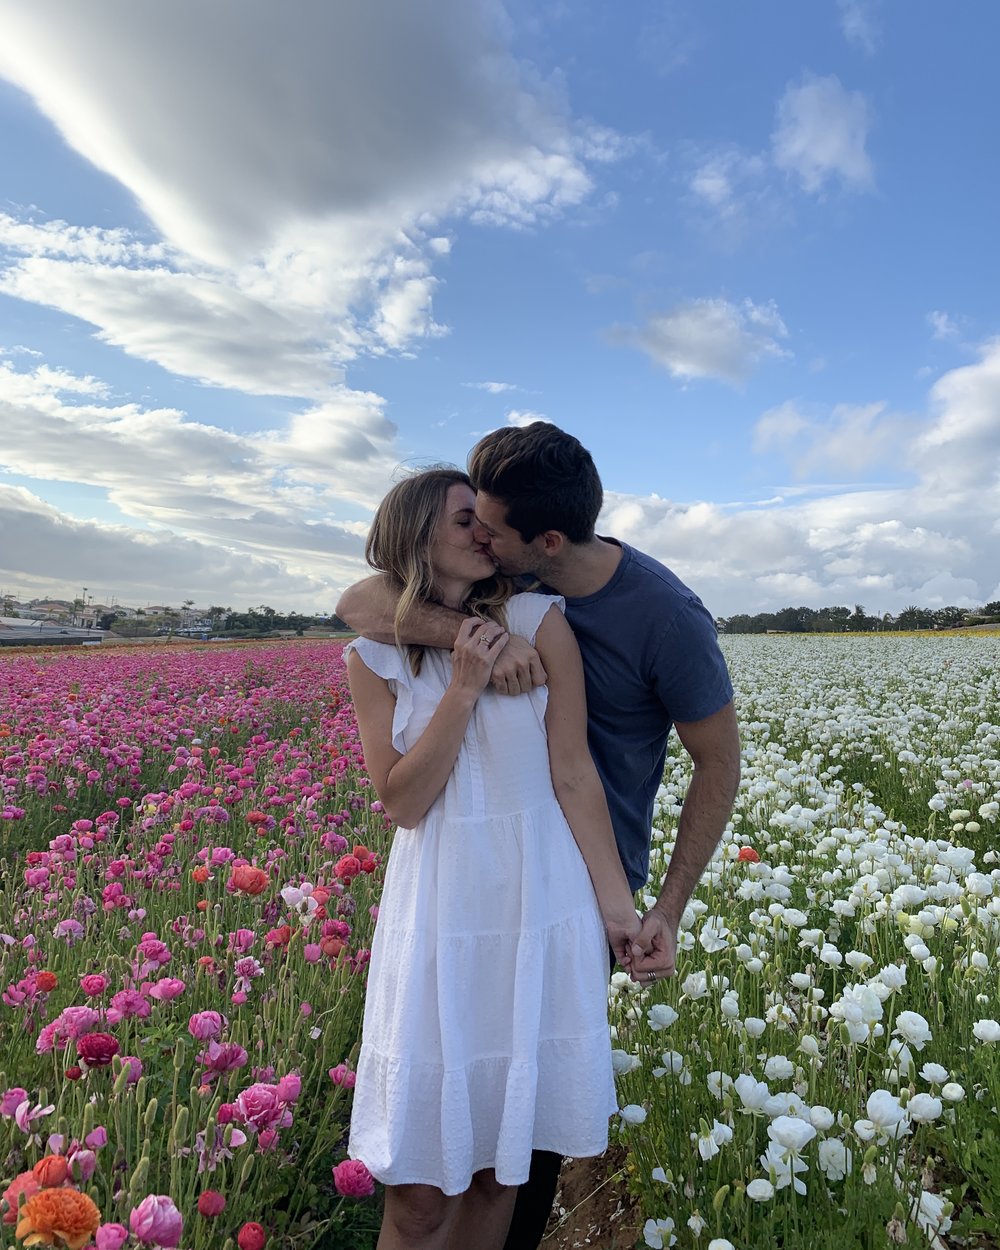
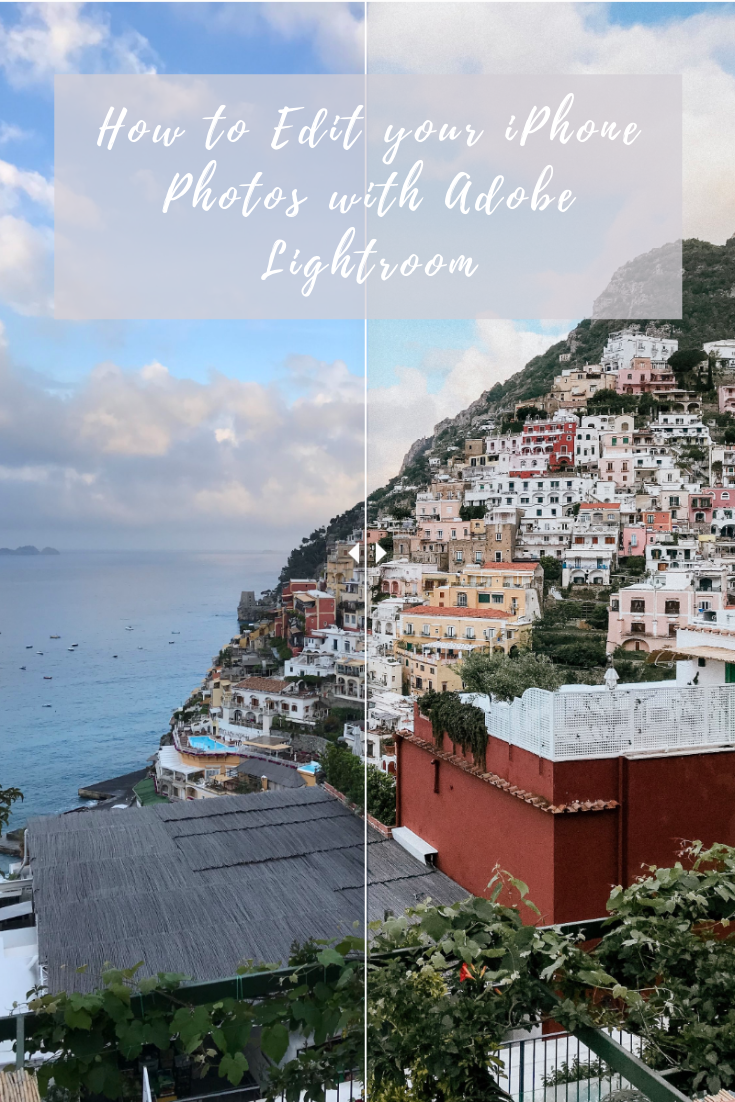
Edited with the LA Preset
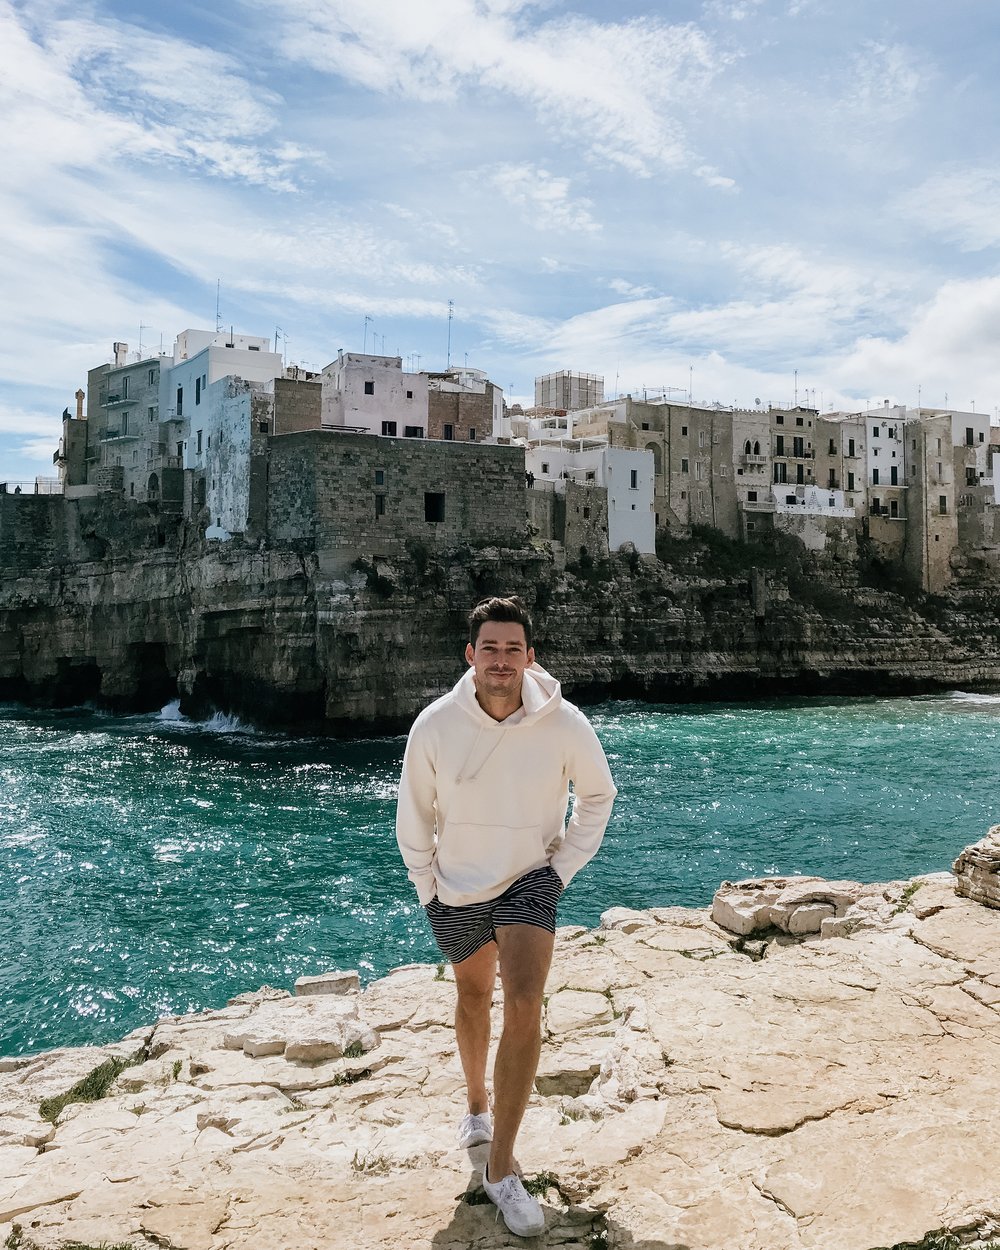

Edited with the Tulum Preset
Adjust the exposure:
After I apply a preset, I still like making a few tweaks, because every photo is taken in a different lighting situation and at a different time of day. In fact, the first adjustment I always play around with is the exposure. Click on “light” and then drag the exposure up to make it brighter or bring it down to make it darker. Since the light is different every time you take a photo, how much you want to adjust the exposure is going to change too. So I normally bring the exposure up a little bit to make the photo look a little brighter.
Crop & straighten:
An easy way to make your photo look 10 times better is by straightening it. For example, an easy way to do this is to look at your horizon lines. If there’s an ocean in your photo, straighten it to make sure the horizon line is level. If there are trees in your photo, straighten it so the trees are standing up right. You can select “straighten” under “crop” and it will automatically straighten the photo for you. It doesn’t always work perfectly, but most of the time it does a good job. If the automatic straighten feature isn’t working how you like it, you can always adjust it manually too. Then, crop the photo so it’s the right size for how you want to use it, ie. printing it out for a frame, sharing it on Instagram, putting it in your Instagram stories.
Tip: If you want to share the photo on Instagram, crop it to 4×5, or if you want to use it for Instagram stories, crop it to 9×16.
Use the color mixing tools:
Go to “color” then “mix” and you can adjust the hue, saturation, and luminance of each color in your photo. Sometimes the blues are a bit too saturated or the oranges look too dark. So I’ll go into the colors and adjust the saturation or luminance of the color I want to change. To make the blues brighter, bring the luminance up and to make the oranges a bit less orange, you can bring the saturation down.
WANT To learn how to TAKe BETTER TRAVEL PHOTOS? check out our free ebook: 8 tips for taking better travel photos
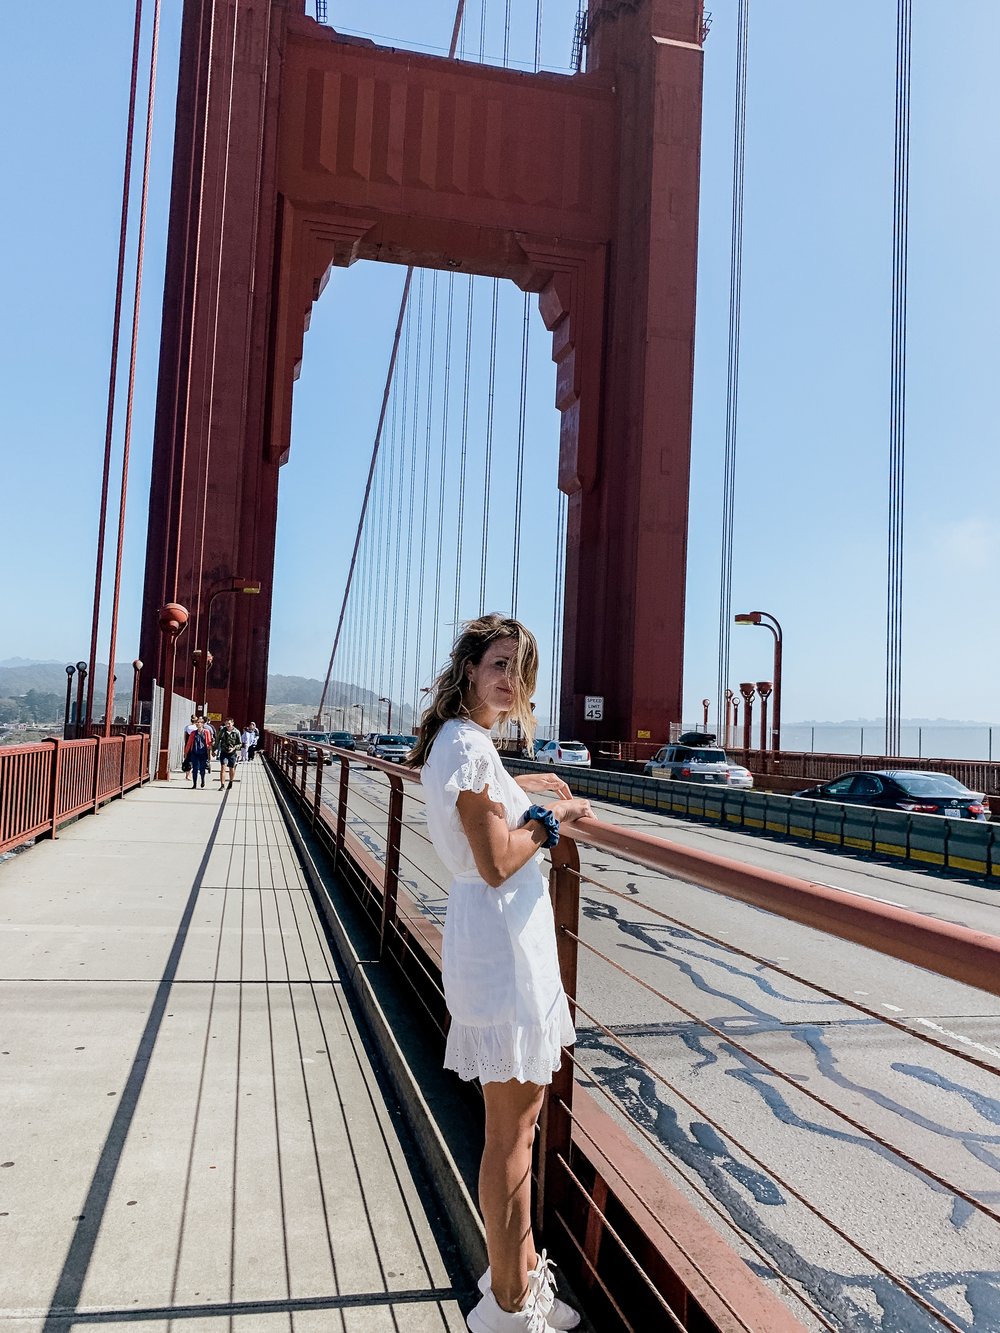
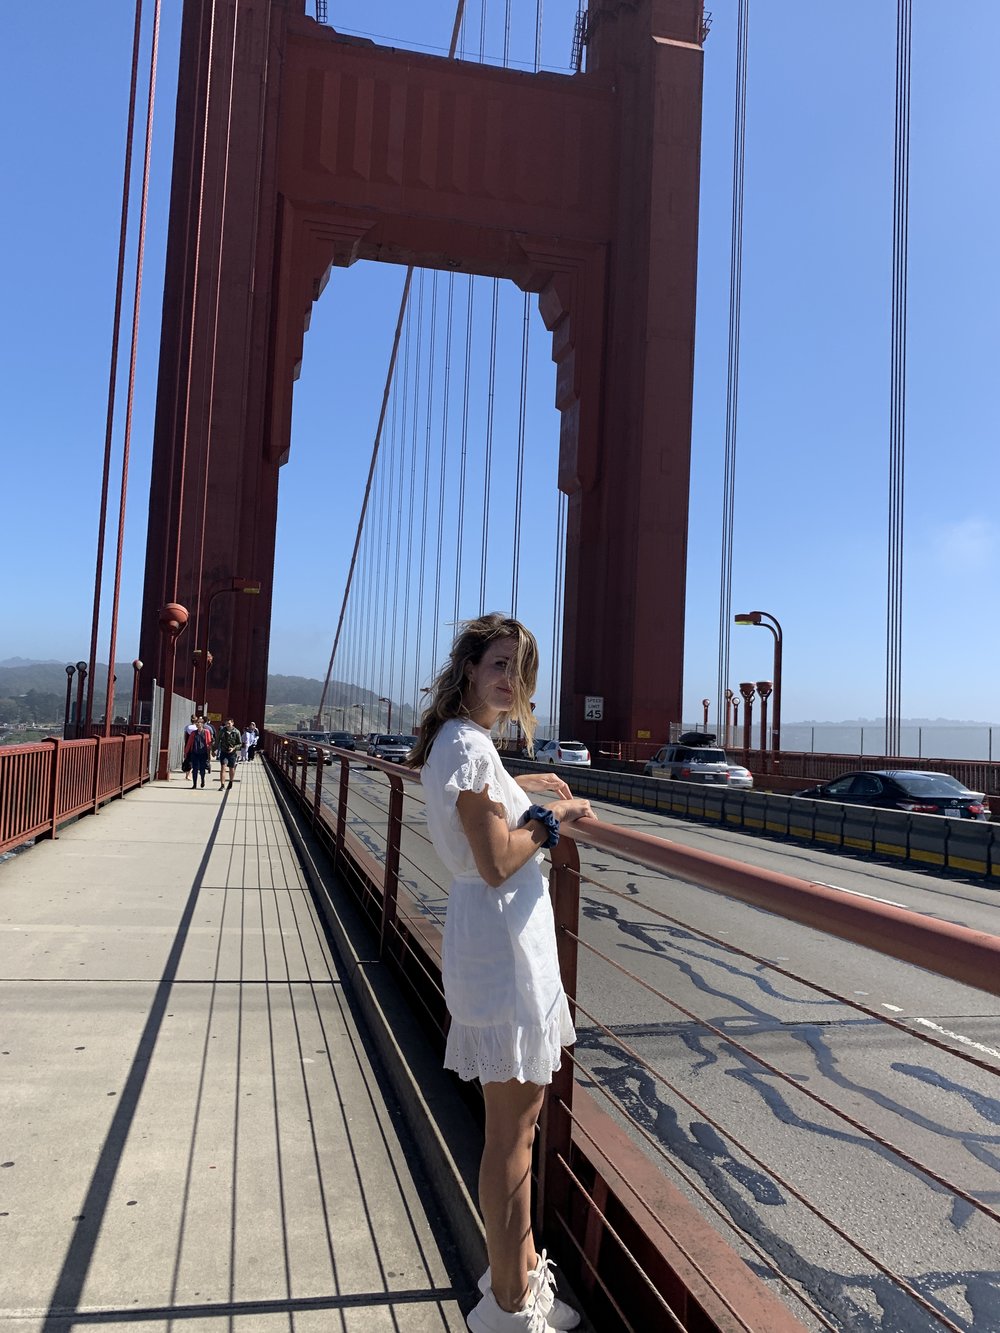

Adjust the white balance:
Was it a bright and sunny day or do you want your photo to look a little cooler and more calming? This it the perfect time to adjust the white balance or temperature to add that warm or cool effect. Select “color” then increase the “temperature” to make it warmer (more orange) or decrease it to make it cooler (more blue). You can also select the eye dropper tool and select a neutral color area (ie. gray or off white), and it will adjust the white balance based on what it thinks it should be.
Local adjustments:
You only get access to these tools if you pay for the Adobe Lightroom subscription (sign up for a free trial here), but using the local adjustments brush, you can adjust the colors of just the sky without affecting the rest of the photo, or you can bring up the exposure in the background without making your subject too bright. You can also use the healing brush to remove objects from the background of your photo or take random objects, like telephone wires or trash cans, out of the photo.
Download a free trial for Adobe Lightroom Here
Export and save to camera roll:
Then once you’ve made your edits, hold your finger down on the screen to see what the original photo looks like and then lift your finger off to see what the final edit looks like. If you’re happy with the edit, click on the save button, select “maximum available” under image size so you don’t lose any of the quality, and you’re done! The edited photo is saved to your phone’s camera roll and you can also share it however you want!
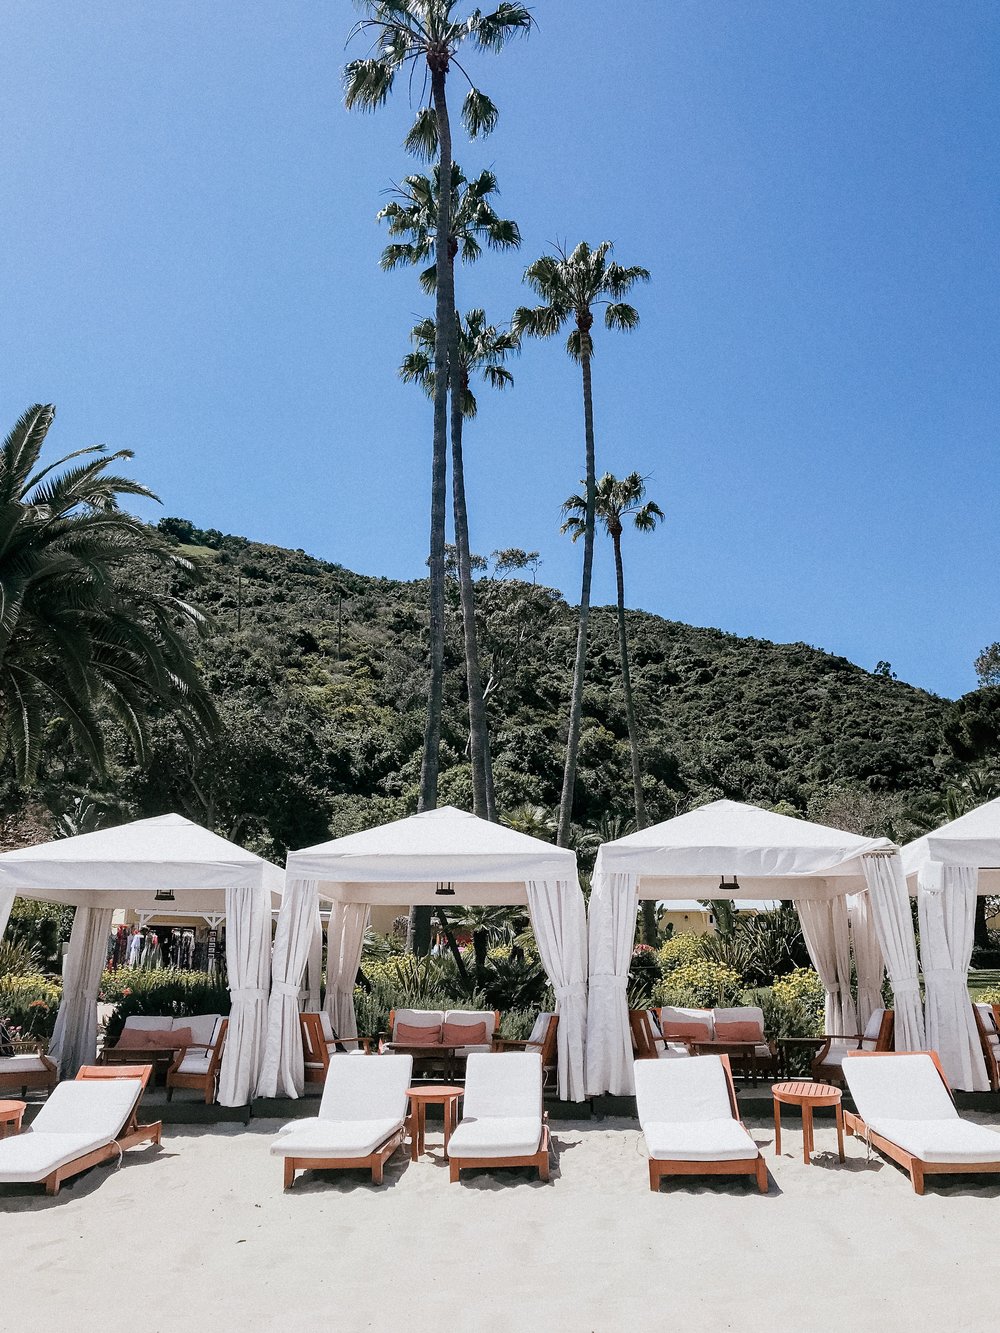
All of the photos in this post were taken using an iPhone and edited using the Adobe Lightroom app.
Watch our full tutorial on how we use our presets to edit our photos here!
Pin It:
